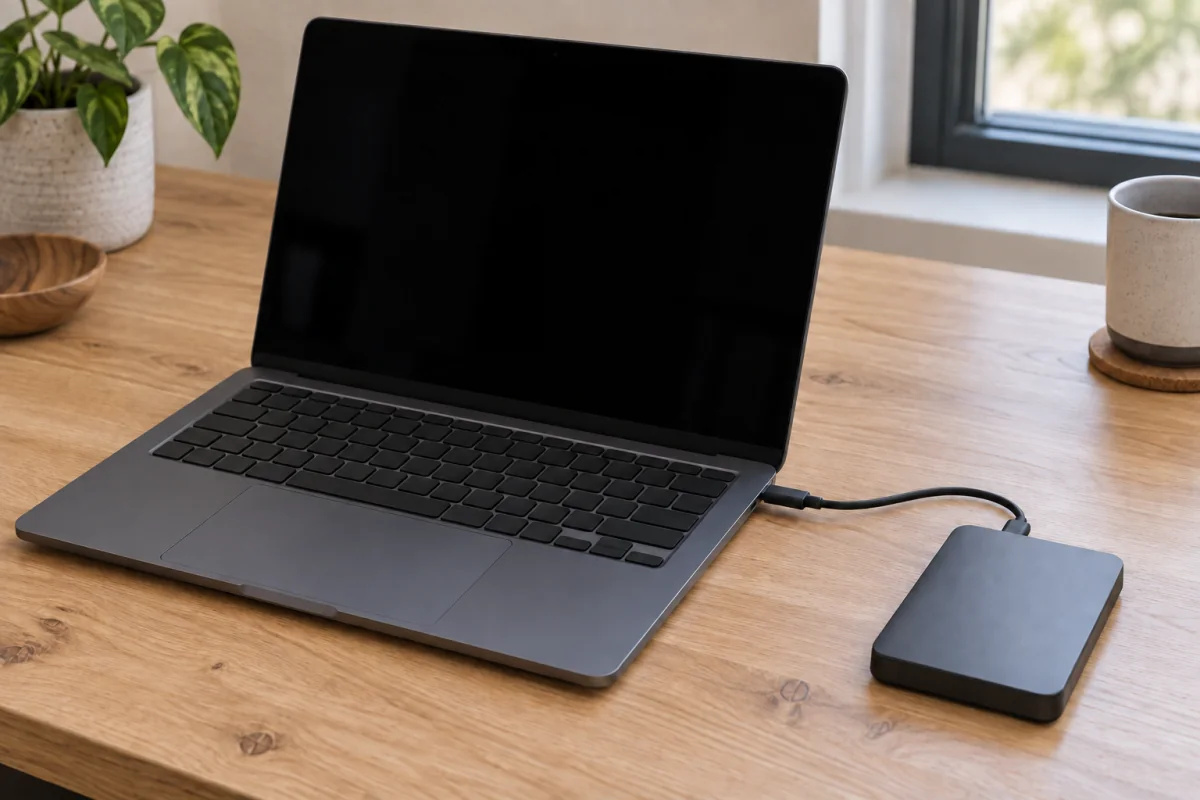
The fastest way to back up your PC automatically is to plug in an external drive and turn on the tool that is already built in: File History on Windows 11, or Time Machine on a Mac. Both take about ten minutes to set up, then run on their own every hour. Add a cloud copy for the files you cannot replace, and you have the 3-2-1 setup that survives a dead drive, a stolen laptop, or ransomware. This guide walks through each step, explains what the built-in tools skip, helps you size the drive, and covers the one step almost everyone forgets: checking that the backup can be restored.
Key takeaways
- A backup you have to remember to run is not a backup. Use a tool that runs on a schedule.
- Follow the 3-2-1 rule: three copies of anything that matters, on two different kinds of storage, with one copy somewhere else.
- OneDrive, iCloud and Google Drive sync files. Syncing is not backup: delete a file on one device and it disappears everywhere.
- Buy a backup drive at least twice the size of the data you are protecting, so old versions have room.
- Do a test restore of one folder the same day you set up the backup, then every few months.
The 3-2-1 rule in one paragraph
Keep three copies of your data: the working copy on the PC, a copy on a local external drive, and a copy off-site, which for most homes means the cloud. Use two different kinds of storage so one failure mode (a power surge, a bad batch of drives) does not take both. Keep one copy away from the house so fire, flood or theft cannot reach it. Each layer covers what the other misses: the local drive gives a fast full restore, the cloud copy gives the files back when the drive and the PC are gone together.
Windows 11: File History, Windows Backup and a system image
Windows 11 has three separate tools, and they do different jobs.
File History (your documents, hourly)
File History copies the files in your user folders to an external drive every hour and keeps old versions, so you can go back to yesterday’s draft. It is the tool to turn on first.
- Plug in the external drive and let Windows recognise it.
- Open Control Panel, then System and Security, then File History. (It is not in the new Settings app on the latest builds; type “File History” in the Start menu search to find it.)
- Click Select drive, choose the external drive, then click Turn on.
- Click Advanced settings to change how often it saves (every 10 minutes to daily) and how long to keep versions. Hourly and “Forever” or “Until space is needed” are good defaults.
- Click Exclude folders to skip things like a large games library that you can reinstall.
File History covers Documents, Pictures, Music, Videos, Desktop and your OneDrive folder if it is on the PC. It does not back up program files, Windows itself, or folders on other drives unless you add them to a library. Microsoft describes what it includes and how to restore on its back up your Windows PC support page.
Windows Backup app (settings and apps to your Microsoft account)
The Windows Backup app in the Start menu saves your settings, Wi-Fi passwords, list of installed Store apps, and the folders you choose to OneDrive. It is useful for moving to a new PC, and it works without an external drive. It is not a replacement for File History: it depends on your OneDrive quota (5 GB free at the time of writing) and it syncs rather than versioning.
System image (a full clone, occasionally)
A system image copies the whole disk, including Windows and your programs, so a dead SSD can be replaced and restored in an hour rather than an afternoon of reinstalling. Windows still includes the older Backup and Restore (Windows 7) tool in Control Panel; click Create a system image, choose the external drive, and follow the prompts. Run it monthly or after major changes. It needs as much free space on the external drive as the used space on your PC.
macOS: Time Machine setup and what it excludes
Time Machine is simpler because it does all three jobs at once: files, settings and a full restorable copy of the Mac.
- Plug in the drive. Time Machine works best with a drive formatted as APFS; it will offer to erase and format a new drive.
- Open System Settings, then General, then Time Machine, and click Add Backup Disk.
- Choose the drive. Tick Encrypt Backup and set a password you will store in a password manager; without it, anyone with the drive can read every file.
- Click Options to change the frequency (hourly is the default, and the right choice) and to exclude folders.
Time Machine keeps hourly backups for 24 hours, daily backups for a month, and weekly backups until the drive fills, then deletes the oldest. It skips caches, temporary files and the Trash by default, and it does not back up files that live only in iCloud Drive with “Optimize Mac Storage” turned on, because they are not on the disk. If you rely on iCloud for your documents, turn off optimisation or keep a separate cloud backup. Apple’s Time Machine support page covers restoring individual files and a whole Mac.
Time Machine can also back up over the network to another Mac or to a NAS that supports it, which suits a household with two or three Macs; our guide to NAS drives for home office backup explains what to look for.
Choosing the drive
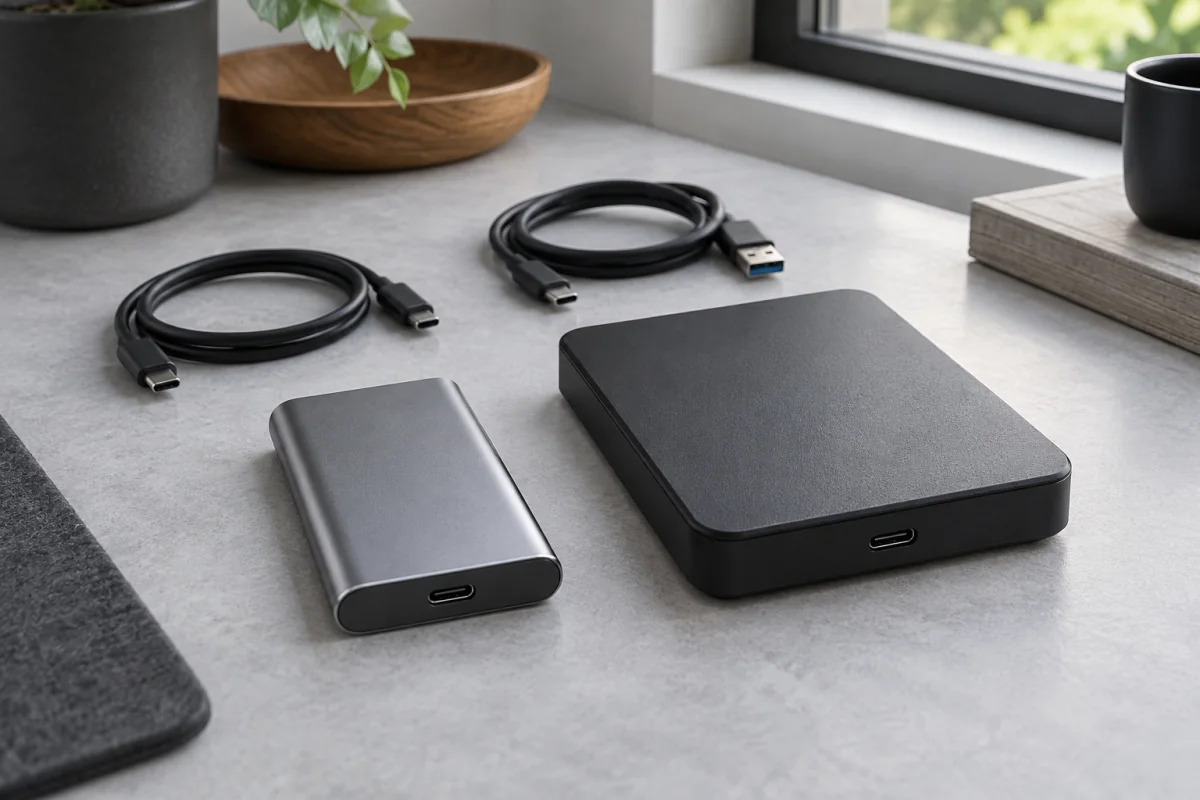
Size first. Look at how much space is used on the PC (Settings, System, Storage on Windows; About This Mac, Storage on a Mac) and buy a drive at least twice that. A PC with 400 GB used needs a 1 TB drive, which leaves room for months of old versions. If you keep a large photo or video library, go to 2 TB or 4 TB.
| Drive type | Good for | Trade-offs | Price range at the time of writing |
|---|---|---|---|
| Portable HDD, 1 to 4 TB | Backup that sits on a desk | Slower, has moving parts, can be damaged if dropped while running | 50 to 110 US dollars |
| Portable SSD, 1 to 2 TB | Laptops, travel, frequent large restores | Costs more per terabyte | 70 to 180 US dollars |
| Desktop HDD, 4 to 8 TB | Large media libraries, system images | Needs mains power, not portable | 90 to 200 US dollars |
For a laptop that gets carried around, a portable SSD is worth the extra money because a knock while it is writing will not damage it. For a desktop, a hard drive is fine and gives more space for the money. Look for USB 3.2 Gen 1 (5 Gbps) or faster; older USB 2.0 drives make the first backup take all night. If the backup drive will hold sensitive work files, use a drive with hardware encryption or turn on BitLocker To Go (Windows Pro) or Time Machine encryption; our guide to encrypted USB drives explains the options.
Adding a cloud copy
The local drive covers a dead SSD. It does not cover a burglary or a house fire, when the drive and the PC are lost together, and it may not cover ransomware that encrypts every connected disk. That is what the off-site copy is for.
There are two approaches. A sync service (OneDrive, iCloud Drive, Google Drive, Dropbox) keeps a folder mirrored online, and most keep deleted files and old versions for 30 days or so. That is useful, but it is a mirror: delete or encrypt a file locally and the change goes up too. A true cloud backup service copies chosen folders on a schedule and keeps its own versions, independent of what happens on the PC, and usually offers unlimited or very large storage for one computer. Our comparison of cloud backup services covers pricing and restore options.
Whichever you use, apply two settings: turn on version history for at least 30 days, and enable two-factor authentication on the account, because the backup is only as safe as the login.
Test a restore: the step everyone skips
A backup that has never been restored is a hope. Spend five minutes the day you set it up:
- Windows. Open File History, click Restore personal files, pick a folder, use the arrows to go back a version, and restore it to a new location (right-click the green Restore button and choose Restore to). Open a file from the restored copy.
- Mac. Open the folder in Finder, then open Time Machine from the menu bar, scroll back to an earlier snapshot, select a file and click Restore.
- Cloud. Sign in on the web, find a file, and download an older version.
Then put a repeat in your calendar every three months. File History warns when the drive has not been seen for a while, and Time Machine puts a red badge on its menu-bar icon after ten days without a backup. If you see either, the schedule has stopped and you are unprotected.
Common mistakes
- Backing up to the same disk. A second partition on the internal SSD dies with the first. The backup must be on separate hardware.
- Leaving the drive plugged in permanently. Convenient for the schedule, but ransomware encrypts every drive it can see. A middle path: plug the drive in every evening, or keep a second drive that is only connected once a week.
- Never rotating drives. One drive is one point of failure. Two drives, swapped monthly, cost less than a data recovery service.
- Trusting the sync folder. A file deleted from a synced folder is gone from every device once the retention window passes.
- Ignoring the warning icons. Both operating systems tell you when backups stop. Look at the notification.
- Filling the drive and letting the tool silently delete old versions. When the drive is full, File History and Time Machine drop the oldest backups. Buy bigger than you think.
Who this setup is not for
If you run a business with more than a handful of PCs, keep records for compliance, or work with databases and virtual machines, the built-in tools are not enough; you need backup software with central management and off-site replication, which is a different guide. If you keep nothing on the PC and work entirely in web apps, you may only need to confirm those services keep version history and turn on two-factor authentication. Everyone in between is well served by the setup above.
Frequently asked questions
Is OneDrive or iCloud a backup?
Not on its own. They are sync services: a change on one device is copied to all of them. That protects against a lost laptop, but not against accidental deletion or ransomware once the retention window (usually 30 days) has passed. Keep them, but add File History or Time Machine to a separate drive.
How big should my backup drive be?
At least twice the space currently used on the PC. That gives File History or Time Machine room to keep months of old versions before it starts deleting them. For a system image on Windows, add the full used size of the disk again.
How often should backups run?
Hourly for files, which is the default for both File History and Time Machine and has no noticeable effect on performance. Monthly for a full system image. Daily for the cloud copy, or continuously if the service supports it.
Can ransomware reach my backup drive?
Yes, if it is connected when the infection runs. Modern ransomware looks for every mounted drive, including network shares. The defences are an off-site copy that keeps its own versions, a drive that is not always connected, and keeping Windows and macOS up to date so the malware does not get in at all.