This complete two-factor authentication setup guide walks you through securing every major account you own — Google, Apple, Microsoft, Facebook, banking apps, and more. Two-factor authentication (2FA) is the single most effective step you can take to protect your accounts in 2026. Last October, I woke up to 47 emails I didn’t send. Someone halfway across the world had logged into my old Hotmail account — the one I’d had since 2009 — and was blasting phishing links to every contact I had. My mom called me at 6 AM asking why I’d sent her a link to ‘claim her prize money.’
Last October, I woke up to 47 emails I didn’t send. Someone halfway across the world had logged into my old Hotmail account — the one I’d had since 2009 — and was blasting phishing links to every contact I had. My mom called me at 6 AM asking why I’d sent her a link to “claim her prize money.”
The password was strong. Fourteen characters, mixed case, numbers, the whole deal. Didn’t matter. It’d been leaked in a data breach months earlier, and I hadn’t turned on two-factor authentication because I thought it was “too annoying.”
You know what’s actually annoying? Calling your bank on a Sunday morning to make sure nobody drained your checking account.
So yeah. I’m now the guy who puts 2FA on *everything*. And after walking about a dozen friends and family members through the process, I figured I’d just write the whole thing down.
This is that guide. Every major platform, step by step, no jargon.
—
## What Is Two-Factor Authentication (And Why Should You Care)?
Two-factor authentication — people call it 2FA or two-step verification — means you need *two things* to log into an account instead of just one.
Think of it like your front door. Your password is the key. 2FA is the deadbolt. Even if someone copies your key, they still can’t get in without the deadbolt code.
Here’s what those two factors usually look like:
1. **Something you know** — your password
2. **Something you have** — your phone, a security key, or an authenticator app
When you log in somewhere with 2FA turned on, you’ll type your password like normal. Then the site asks for a second code. That code might come from a text message, an app on your phone, or a physical key you tap.
That’s it. That’s the whole concept.
According to [Microsoft’s security research](https://www.microsoft.com/en-us/security/blog/), accounts with 2FA enabled block over 99.9% of automated attacks. That’s not a typo. Ninety-nine point nine percent.
—
## Types of 2FA, Ranked From Best to Worst
Not all 2FA is created equal. Here’s the breakdown, ranked by how secure each method actually is:
### 1. Hardware Security Keys (Best)
Physical USB or NFC devices like [YubiKey](https://www.yubico.com/) or Google’s Titan Key. You plug it in or tap it against your phone. Can’t be phished, can’t be intercepted. This is what Google uses internally for all their employees.
**Best for:** People who want maximum security, journalists, anyone handling sensitive data.
### 2. Authenticator Apps (Great)
Apps like Google Authenticator, Microsoft Authenticator, or Authy that generate a new 6-digit code every 30 seconds. The code lives on your device, not on a server somewhere, so it’s really hard to steal.
**Best for:** Most people. Seriously, this is the sweet spot of security vs. convenience.
### 3. Push Notifications (Good)
Some services send a “Was this you?” popup to your phone. You just tap Yes or No. Microsoft and Google both do this. It’s convenient but there’ve been cases where hackers spam the notifications until you accidentally tap Yes at 3 AM. (This is called “MFA fatigue” and it’s how [Uber got hacked in 2022](https://www.wired.com/story/uber-hack-mfa-fatigue/).)
### 4. SMS Text Messages (Okay-ish)
A code sent to your phone number via text. Better than nothing, but honestly not great. Hackers can do something called SIM swapping — basically tricking your phone carrier into transferring your number to their phone. Then they get all your codes.
**Best for:** Only when it’s the *only* 2FA option available.
### 5. Email Codes (Worst)
If someone already has your password, there’s a decent chance they have access to your email too. So getting a 2FA code sent to email is kind of like hiding the spare key under the doormat.
> **Pro Tip:** If you’re starting from zero, just download an authenticator app right now. Google Authenticator and Microsoft Authenticator are both free. I personally use Authy because it lets you back up your codes across devices — handy if you lose your phone.
—
## How to Set Up 2FA on Every Major Platform
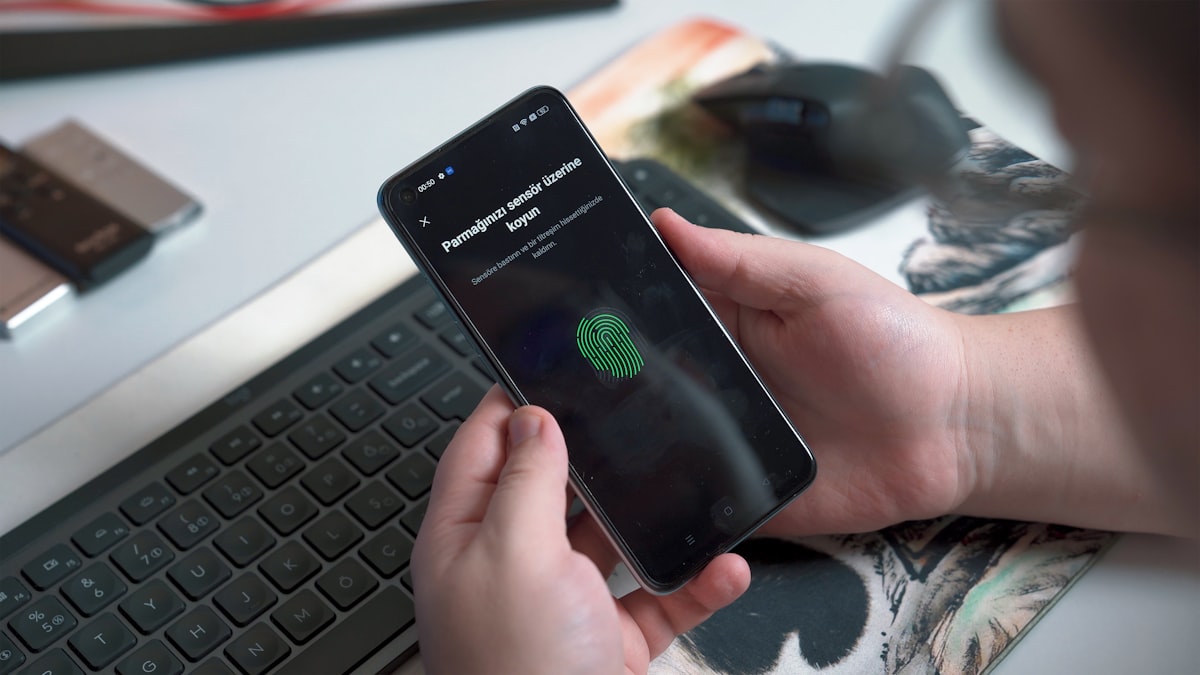
Alright, here’s the meat of it. I’m going to walk you through each platform step by step. Screenshots would be nice but these menus change every few months, so I’m giving you the menu paths instead. They’re more reliable.
Grab your phone and your authenticator app. Let’s do this.
### Google (Gmail, YouTube, Google Drive)
1. Go to [myaccount.google.com](https://myaccount.google.com/)
2. Click **Security** in the left sidebar
3. Under “How you sign in to Google,” click **2-Step Verification**
4. Click **Get Started**
5. Google will probably suggest using Google Prompts (push notifications). That’s fine as a starting point
6. For stronger security, scroll down and click **Authenticator app**
7. Select your phone type (Android or iPhone)
8. Open your authenticator app and scan the QR code
9. Enter the 6-digit code from the app to verify
10. **Download your backup codes** — this is crucial, don’t skip it
Google also lets you add a hardware security key if you’ve got one. Look for the “Security keys” option on the same page.
> **Pro Tip:** Print your Google backup codes and keep them somewhere safe, like with your passport. If you lose your phone and don’t have backup codes, getting back into your Google account is a *nightmare*.
—
### Apple (iCloud, App Store, Apple ID)
**On iPhone or iPad:**
1. Open **Settings**
2. Tap your name at the top
3. Tap **Sign-In & Security**
4. Tap **Two-Factor Authentication**
5. Tap **Turn On Two-Factor Authentication**
6. Enter a trusted phone number (this is where Apple sends codes)
7. Choose to verify via text or phone call
8. Enter the verification code
**On Mac:**
1. Open **System Settings**
2. Click your name at the top
3. Click **Sign-In & Security**
4. Click **Two-Factor Authentication** and follow the prompts
Apple’s 2FA is baked pretty deep into their ecosystem. Once it’s on, you’ll get verification codes directly on your trusted Apple devices. It’s actually one of the smoother implementations out there.
**Skip this if:** You already see “Two-Factor Authentication: On” in your Apple ID settings. Apple has been automatically enabling this for new accounts since 2023, so you might already have it.
—
### Microsoft (Outlook, Xbox, OneDrive)
1. Go to [account.microsoft.com/security](https://account.microsoft.com/security)
2. Click **Advanced security options**
3. Under “Additional security,” find **Two-step verification**
4. Click **Turn on**
5. Follow the prompts to set up the Microsoft Authenticator app (or choose a different authenticator)
6. Scan the QR code with your app
7. Enter the code to confirm
8. Save the recovery code Microsoft gives you
Microsoft Authenticator has a nice feature where it can do passwordless sign-in too. You just approve a notification on your phone instead of typing a password at all. Worth setting up if you use Microsoft stuff daily.
—
1. Open Facebook and click your profile picture (top right)
2. Go to **Settings & Privacy** > **Settings**
3. Click **Accounts Center** > **Password and Security**
4. Click **Two-factor authentication**
5. Select your Facebook account
6. Choose your method: **Authentication app** (recommended), Security key, or Text message
7. If you pick Authentication app, scan the QR code
8. Enter the confirmation code
9. Done
Facebook will also give you recovery codes. Save them. I know I keep saying that. I’ll keep saying it.
(Fun aside: my uncle set up 2FA on Facebook, then immediately locked himself out because he used his work phone — which his company wiped the next week during an “upgrade.” He spent two weeks filling out identity verification forms and sending selfies holding his driver’s license. Don’t be my uncle.)
—
1. Open the Instagram app
2. Tap your profile picture > **three horizontal lines** (hamburger menu)
3. Tap **Accounts Center** > **Password and Security**
4. Tap **Two-factor authentication**
5. Pick your Instagram account
6. Choose **Authentication app** (strongly recommended over SMS)
7. Instagram might auto-detect if you have an authenticator installed. If not, it’ll show a QR code or a setup key
8. Enter the 6-digit code from your app
9. Screenshot or write down the recovery codes
Instagram account theft is *rampant*, especially for accounts with more than a few thousand followers. If you do any kind of content creation or run a business account, 2FA isn’t optional. It’s survival.
—
### Banking Apps and Financial Accounts
I can’t give you exact steps for every bank because they’re all different. But here’s the general process:
1. Log into your bank’s website or app
2. Go to **Settings** or **Security Settings**
3. Look for **Two-Factor Authentication**, **Two-Step Verification**, or **Extra Security**
4. Most banks default to SMS codes. If your bank offers authenticator app support, switch to that
5. Some banks (like Chase and Bank of America) use their own verification systems built into their apps
6. Follow the prompts to verify your phone number or set up the app
A few things specific to banking:
– Many banks don’t let you use third-party authenticator apps yet. SMS might be your only option, and that’s still worth turning on
– Some banks use voice recognition or biometric verification instead of traditional 2FA
– If your bank offers login alerts (email or push notification every time someone signs in), turn those on too. They’re not technically 2FA, but they’ll tell you fast if something’s wrong
Check out [your bank’s security page](https://www.consumerfinance.gov/consumer-tools/fraud/) or call their support line if you can’t find the settings. The [Consumer Financial Protection Bureau](https://www.consumerfinance.gov/) also has good guidance on securing financial accounts.
—
## Common 2FA Mistakes (And How to Avoid Them)
I’ve seen people mess these up in the same ways over and over. Here’s what to watch out for:
**1. Not saving backup codes.**
I’ve said it three times already. I’ll say it again. SAVE YOUR BACKUP CODES. Put them in a password manager, print them out, write them on paper. Just don’t leave them only on the phone you’re using for 2FA.
**2. Using only SMS when better options exist.**
Text message codes are the 2FA equivalent of a screen door on a submarine. They work, kind of, but they won’t stop a determined attacker. Use an authenticator app whenever you can.
**3. Putting all your 2FA eggs in one phone.**
If your phone dies, gets stolen, or takes an unexpected swim in the toilet, you’ll lose access to everything at once. Use an authenticator app that supports cloud backup (like Authy) or make sure you’ve saved those backup codes.
**4. Ignoring 2FA on your email account.**
Your email is the skeleton key to your entire digital life. Password resets for almost everything go through email. If a hacker gets your email, they can reset passwords everywhere else. Secure your email first, everything else second.
**5. Falling for phishing attempts that ask for your 2FA code.**
No legitimate company will ever call, email, or text you asking for your 2FA code. If someone does, it’s a scam. Period.
**6. Turning off 2FA because it’s “inconvenient.”**
Past me would like a word with you. Just… don’t. The 10 seconds it takes to type a code is nothing compared to the hours (or days) it takes to recover a hacked account.
—
## Frequently Asked Questions
### What’s the best authenticator app in 2026?
For most people, **Google Authenticator** or **Microsoft Authenticator** work great. If you want cloud backup so you don’t lose everything when you switch phones, **Authy** is the better pick. For maximum security and open-source transparency, check out **Ente Auth** or **2FAS**. They’re all free.
### What if I lose my phone?
This is exactly why backup codes exist. Use them to log in, then set up 2FA on your new phone. If you don’t have backup codes, you’ll need to go through each service’s account recovery process, which can take days or even weeks depending on the platform.
### Can I use 2FA on multiple devices?
With some authenticator apps, yes. Authy lets you sync across devices. Google Authenticator added transfer features too. Hardware security keys can be registered on multiple accounts, and you can buy a backup key to keep in a safe place.
### Is 2FA hackable?
Nothing is 100% unhackable, but 2FA makes it *dramatically* harder. SMS-based 2FA can be beaten through SIM swapping. Authenticator apps are much tougher to crack. Hardware security keys are essentially unphishable with current technology. The goal isn’t perfection — it’s making your account not worth the effort.
### Do I need 2FA if I have a strong password?
Yes. Full stop. Strong passwords get leaked in data breaches all the time. You could have a 30-character password with every symbol on the keyboard, and if the company storing it gets breached, it’s useless. 2FA is your backup plan for when (not if) a password gets compromised.
### Does 2FA slow down my logins?
Barely. Most services remember your device for 30-90 days, so you only need to enter a code when logging in from a new device or browser. On your regular devices, you’ll hardly notice it. We’re talking maybe 10 extra seconds a few times a month.
—
## What to Do Next
Here’s your action plan. Don’t try to do everything at once — you’ll burn out and quit halfway through. Instead:
**Today (5 minutes):**
– Download an authenticator app if you don’t have one (Google Authenticator, Authy, or Microsoft Authenticator)
**This week (20 minutes total):**
– Turn on 2FA for your primary email account
– Turn on 2FA for your bank accounts
**This month (whenever you’ve got a spare minute):**
– Enable 2FA on social media (Facebook, Instagram, Twitter/X)
– Turn it on for any shopping accounts that have your credit card saved (Amazon, PayPal)
– Set it up on cloud storage (Google Drive, Dropbox, iCloud)
**Keep your backup codes safe.** Print them or store them in a [password manager](https://www.nist.gov/cybersecurity). If you’ve got a fireproof safe, even better.
And hey — if you found this helpful, maybe send it to that one family member who still uses “password123” for everything. You know who I’m talking about.
—
*Disclaimer: This article is for informational purposes only. Security features and menu locations may change as platforms update their software. Always refer to the official support pages for the most current instructions. Some links in this article may be affiliate links — if you buy something through them, we may earn a small commission at no extra cost to you. We only recommend products we actually use or have thoroughly researched.*